How to set up your organization?
Organization Set up:

Team Vizman
Last Update 4 jaar geleden
The registered user will be the organization's admin, with complete control over the company's setup, employee additions.
If the Admin logs in for the first time after registering with VizMan, the page below will appear.
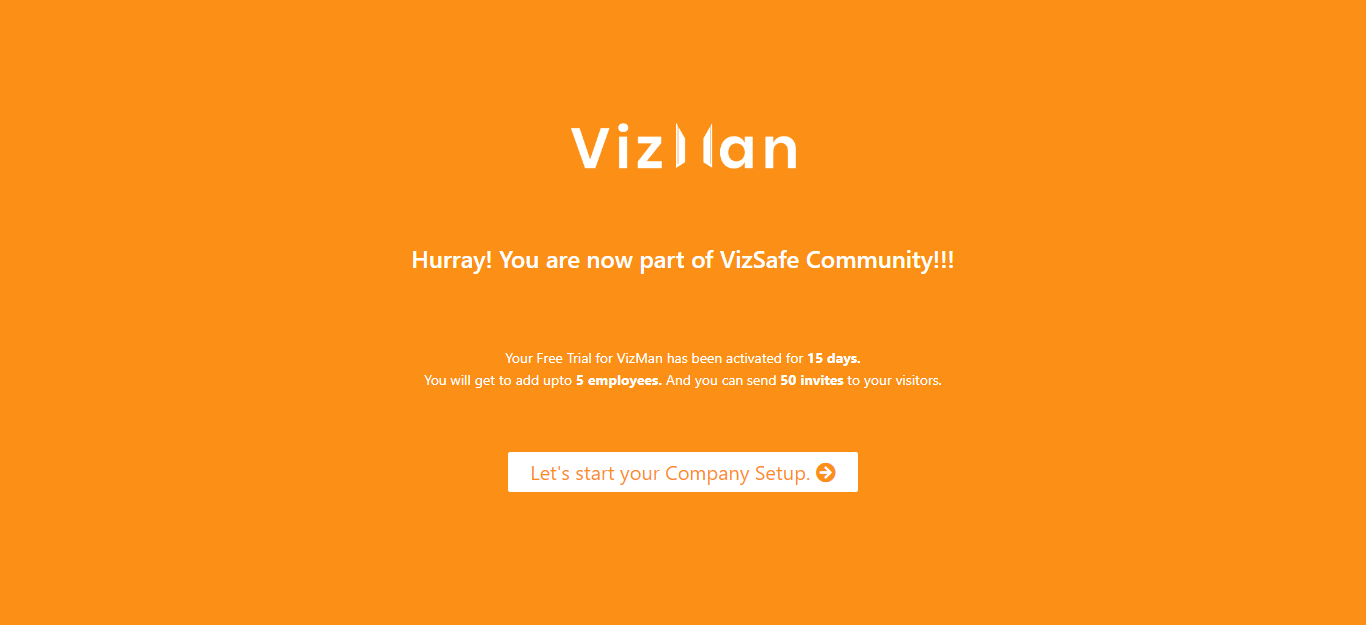
The page links to your 15-day trial account, and you can immediately begin using VizMan and controlling all of your visitors for free for the next 15 days. You can invite up to 50 people, and you can add up to 5 employees.
Step 1: Organizational Information :As seen in the image below, you must fill in the following essential information about your company:
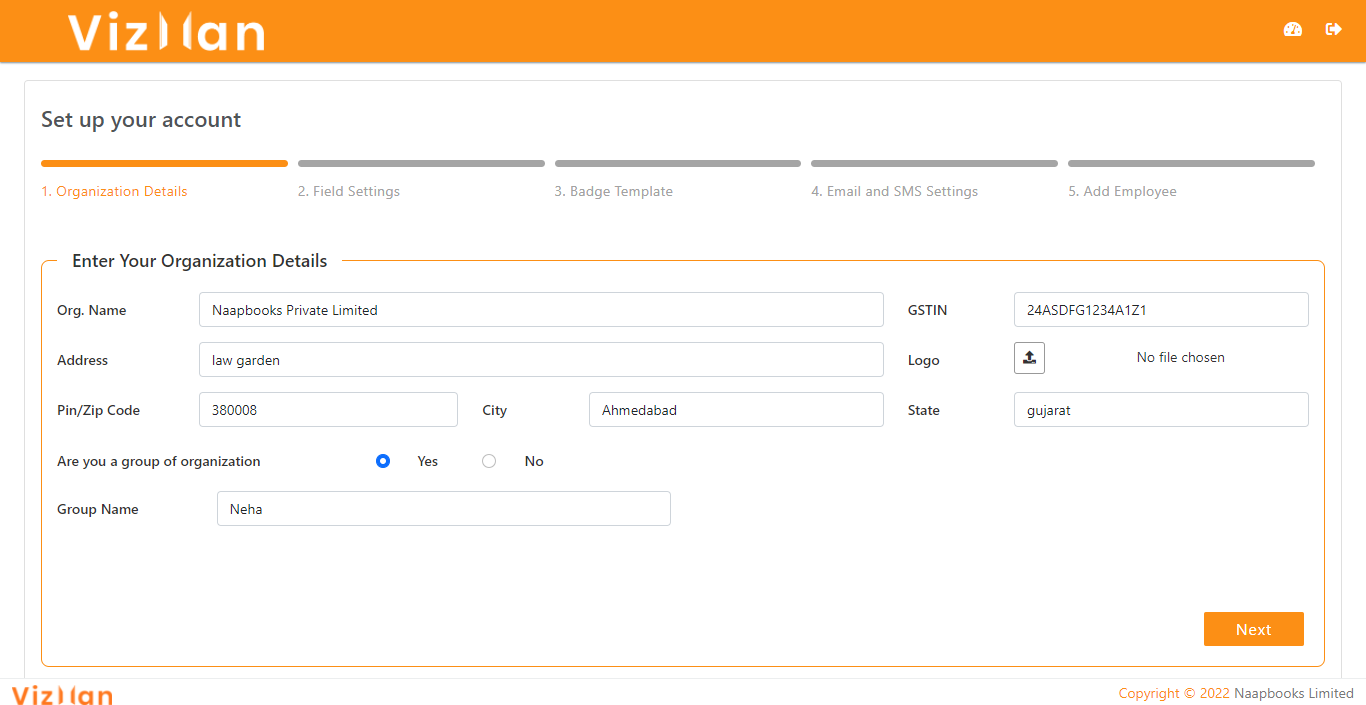
- Org. name: Write your organization's name here. You can also use special characters and alphanumeric characters.
- Address: Include the company's complete address. You can also use special characters and alphanumeric characters.
- GSTIN: Enter your Goods and Services Tax Identification Number here. Only alphanumeric characters and a maximum of 15 digits in GSTIN format are permitted.
- Logo: This is where you may upload your company's logo. JPEG, JPG, and PNG are examples of image formats.
- Pincode: To get the state and city names, you must input a valid Pincode. It is also necessary to input the Pincode. According to the Pincode, state and city names will be automatically added.
- Are you a group organization: This is a yes/no checkbox where you can select "yes" if you have a group of many organizations and wish to manage them all from one place.
- Group name: If you're in charge of a group of companies, you can give them a name.
You can have multiple companies and their report under your group.
To know more about the VizMan group: Click on the link and discover more
The company information will be saved after you click the next button.
Step 2: Field Details: This is where you may allow the extra information you want visitors to provide. There are a few extra fields, and you may also add up to five custom fields based on your needs. These additional fields will be added to the visitor's form and can be filled out when inviting or adding visitors. Only visitors will receive email notifications for booked meetings if you enable the email option.
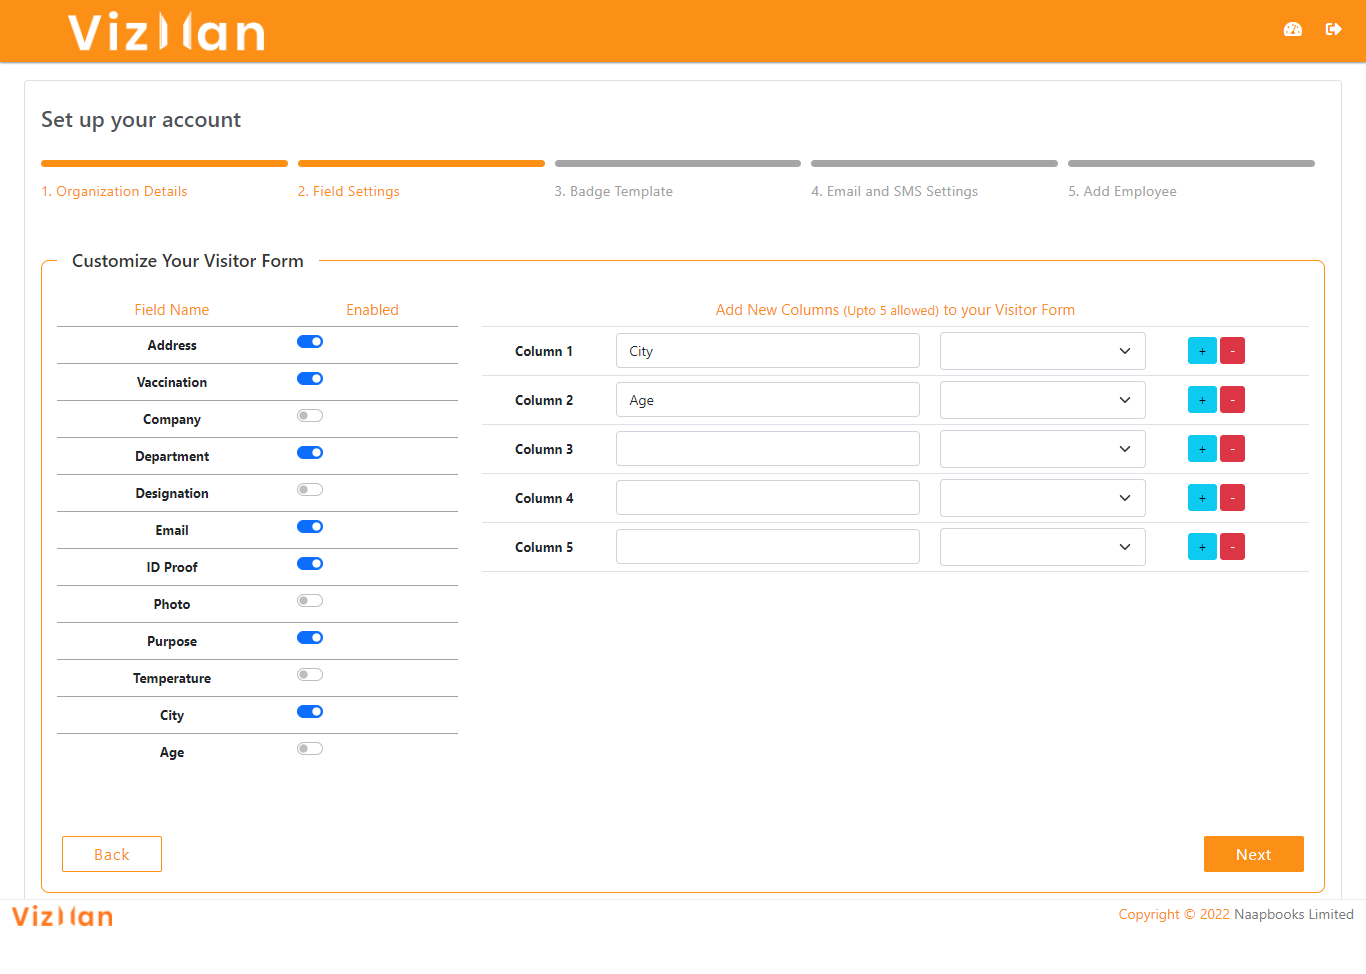
These are some predefined field types that you can use for custom fields. These are the following:
- Text: You can type in alphabets, numbers, and special characters in the text box.
- Number: You can put any number in this box, but not alphabets or special characters.
- Email: Enter a valid email address here.
- Mobile: Enter a valid mobile phone number here.
- Checkbox: The checkbox will be added next to the field name.
After you've created the custom field, click the ADD button to add it to the list and enable it if you want to include it in the visitors' form.
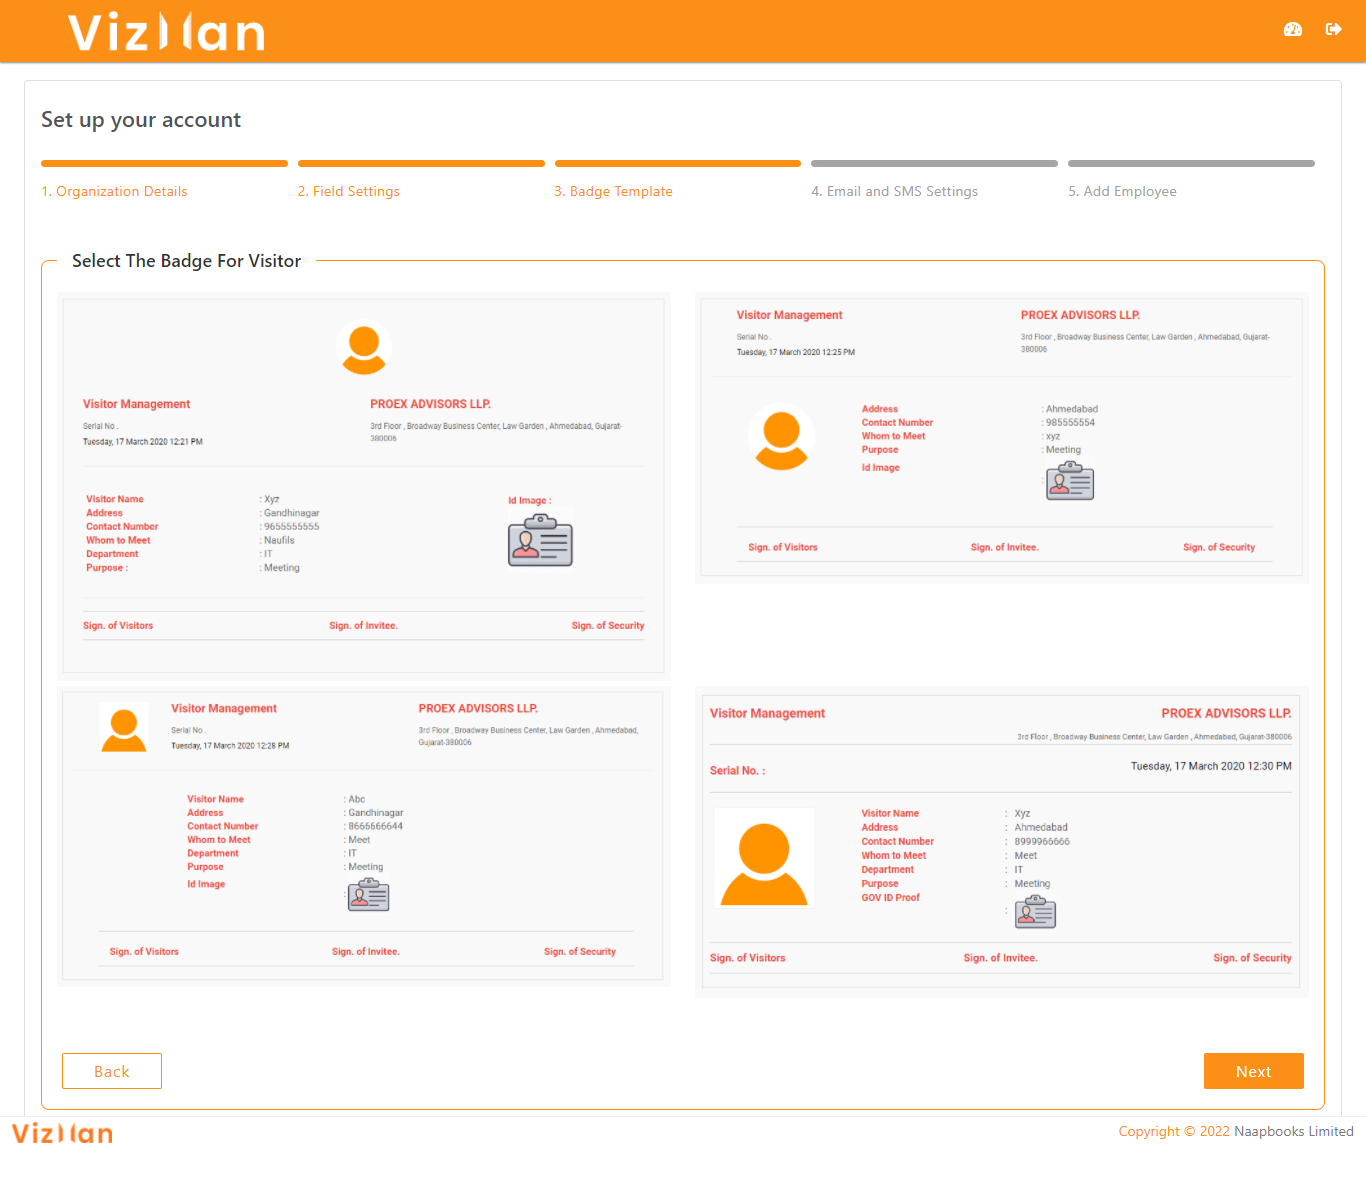
Step 3: Badge Template: This option allows you to choose a badge template for the gate pass of a visitor. You can choose from four different templates, and the visitors' gate passes will be printed according to the template you choose.
Step 4: Email and SMS Settings You may enter details that will be included in SMS and email messages sent to visitors in the email and SMS settings.
- SMS short name: This will be derived automatically from the organization's name. The maximum character length is 15 characters. It is possible to change the short name.
- Company tagline: This is the company's tagline, which will be included in every email.
- Email footer note: This is the footer that will appear at the bottom of every email sent to visitors or workers.

Step 5: Add Employees : From this page, you may add your employees, and after you've completed your setup, all of them will appear in the employee list.

To add an employee, fill in the following information:
- Name: This is a compulsory field where you must provide the employee's name.
- Email: Here you can input the employee's valid email address; if an email address is entered, the employee will receive emails; otherwise, no.
- Mobile: This is essential to enter the employee's mobile number, and it should not be entered in any other firm. If it's already in use by another company, a popup will appear asking you to add an employee, which will remove the employee from the prior company and add them to yours.
- Role: In VizMan, distinct roles are specified, and rights are assigned based on the role chosen. Employee, receptionist, and gatekeeper are the three roles.
- Password: You must write the password for each employee; however, the password is hidden, and employees can sign in using their mobile number and password.
- Allow visits: This is a checkbox field. This parameter determines whether or not the employee has permission to invite visitors. If you want to grant an employee permission to invite visitors, click the 'Visit allowed' option.
- Save: You must save each employee separately. After saving, the edit and delete buttons will show, as well as an error message if there was a problem while adding details.
After you've completed your setup and are ready to use VizMan, you can move on to the next step. After you've finished, you'll be able to see the dashboard and some other choices. The settings option will display all of the setup menus, which you can alter at any moment.